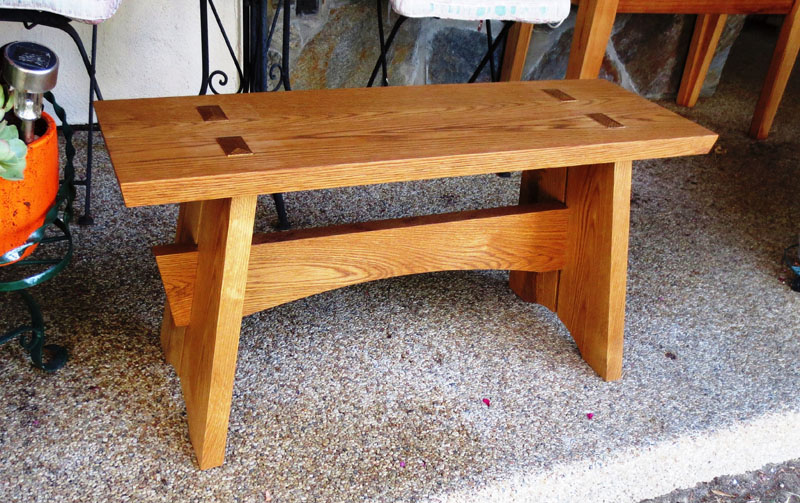
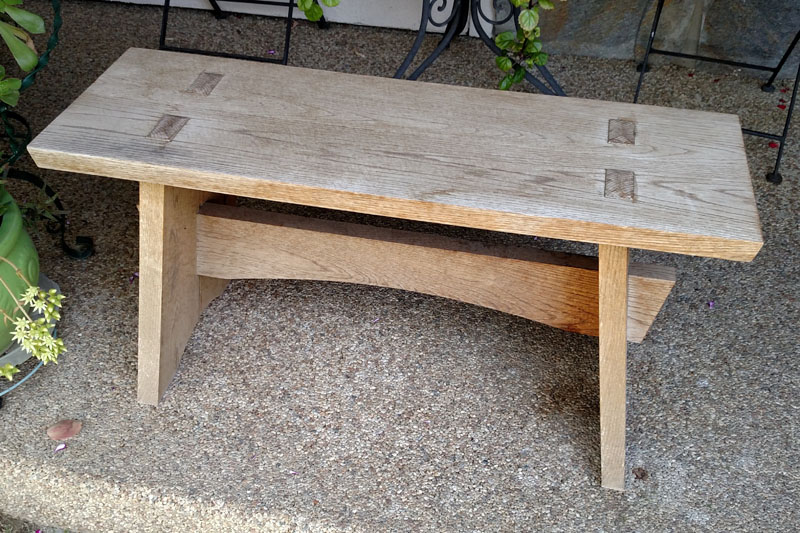
The bench is made from a design created and presented by The Woodsmith Shop television program. It's 36" long x 12" wide x 18" high. The one in the picture is made from 6/4 white oak. The Woodsmith Shop design calls for using 8/4 white oak.
"6/4", that is, "six-quarter" lumber is nominally 6 quarters, or 1 1/2" thick. Similarly, 8/4 lumber is 2" thick. These are the unfinished thicknesses so that the finished thickness of the 6/4 lumber in the picture is about 1 5/16". I felt that 6/4 material was very suitable and chose to go with that.
False Tenons
The tenons that appear to be through-tenons in the top picture are false tenons. They're about 1/2" thick. They rest in mortises that hide the screws that attach the legs to the top. The Woodsmith Shop design calls for one screw in each location. I chose to use two screws at each location.
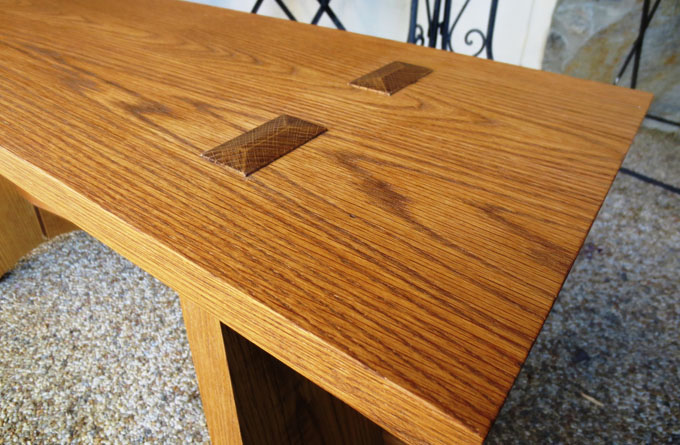
Each of the tenons has a mild taper at its top. Its edge sits proud of the top by about 1/16".
Take a close look at the top. It comprises two boards joined at their edges. Biscuits were used at 5 locations along the edges to keep them aligned. The edges were jointed by carefully cutting the joined edges on a table saw. The top was sanded with a belt sander to smooth the transition between the boards. The result is that the transition is almost invisible.
Attaching the Stretcher to the Legs
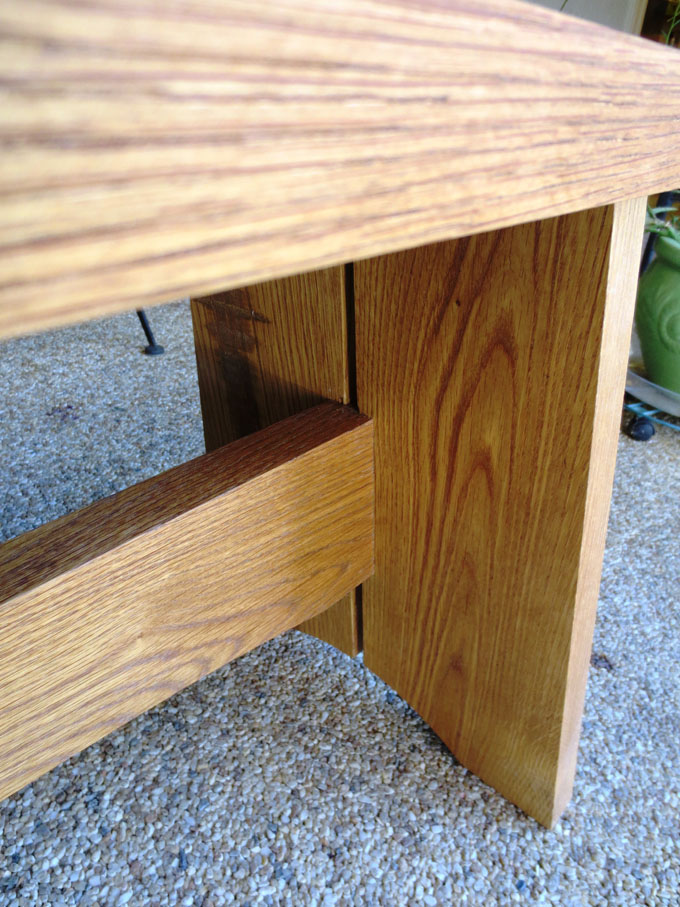
Look at the picture below. You can see where the stretcher is joined to the legs. But the picture isn't quite complete.
The stretcher has a groove cut into both sides that accept the sides of the legs. Also, the legs have cutouts that accept the stretcher. The result is that the stretcher and legs hold each other much like two people shaking hands. To complete the joint, two dowels pass from one leg, through the stretcher, and into the other leg. Glue holds the whole assembly together. The result is an exceptionally strong, clever joint. The people at The Woodsmith Shop did a great job designing this bench.
Incidentally, you should use Titebond III or equivalent waterproof glue since the bench is intended for use outdoors.
The Finish
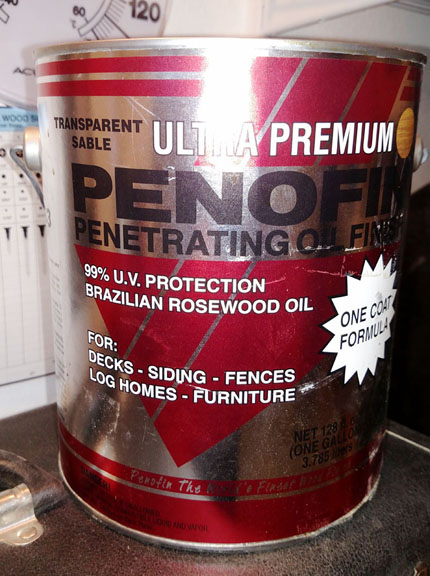
The picture shows the finish recommended by the plans from The Woodsmith Shop. You can see that it's Penofin, Ultra Premium, Penetrating Oil Finish, Brazilian Rosewood Oil. This product gave the beautiful finish to the white oak in the top picture on this page.
After 3 Years of Weathering
The bench sat outside for about 3 years in the Southern California sun and weather where it had direct exposure to the sun for less than a half-day each day. I made the decision to not clean it up and reapply the finish. I wanted to just let the wood "go gray" since white oak is very weather resistant. This is the result after 3 years.
You can download a complete set of detailed design drawings and instructions from The Woodsmith Shop website by clicking on this link:
The plans are available in both Standard (inches) and Metric versions. Each was priced at $9.95 when last checked. I do not receive anything from your transaction with The Woodsmith Shop.