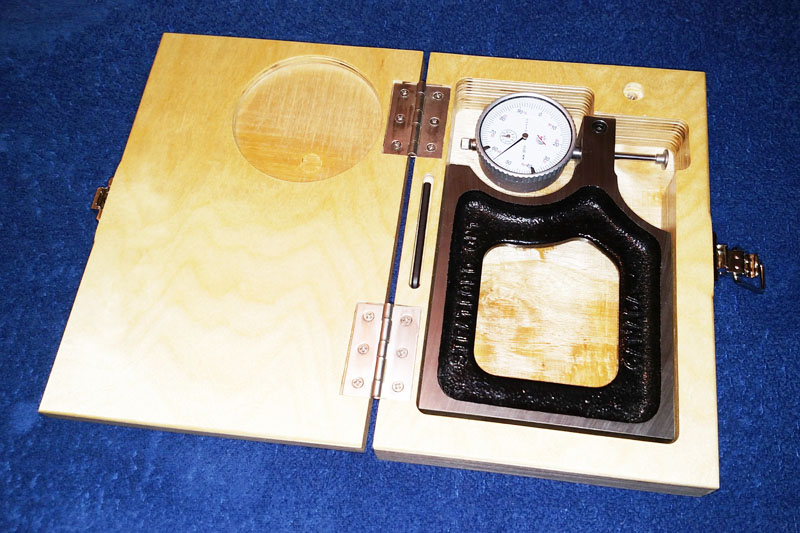
The Oneway Multi-Gauge comprises an accurate dial indicator mounted on a heavy, beefy frame. You can see in the pictures that the frame is solid but the dial indicator is delicate. The storage box keeps the gauge clean and protected.
The Multi-Gauge is manufactured by Oneway Manufacturing of Stratford, Ontario, Canada. The model shown in the above pictures is Part No. 2289. The dial indicator is included with the frame. It's a great tool for adjusting jointer knives, setting router table bit height, and setting table saw blade height.
Structure
The box assembly is 9 3/4" long x 6 5/8" wide x 2 5/32" high.
It's formed using three layers of 3/4" Baltic birch plywood. The top is formed with one layer of 3/4" plywood. Its actual thickness is about 23/32". The bottom is formed by gluing together two layers of 3/4" plywood, making it 2 x 23/32", or about 1 7/16" thick.
Milled Cavities
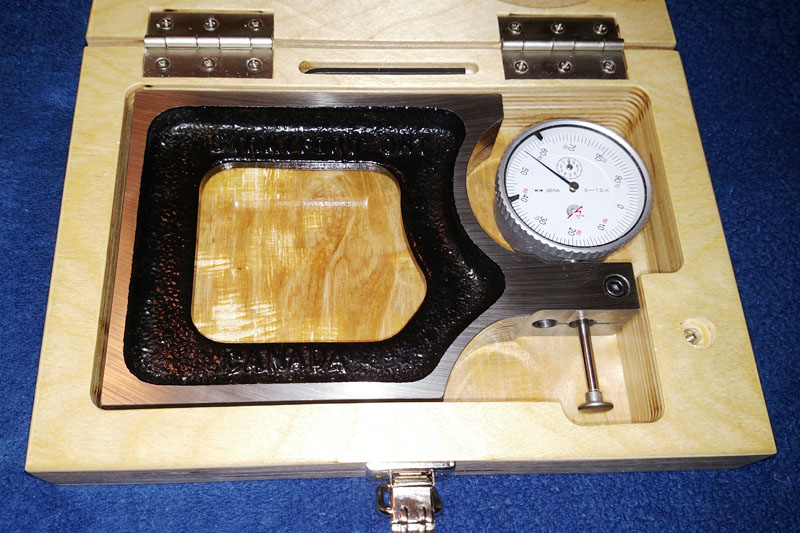
A very large cavity 1 1/4" deep holds the Multi-Gauge. The cavity was milled out using a set of 1/2" diameter router pattern bits, that is, straight-cutting bits with a bearing at the top. An MDF (medium density fiberboard) template 1/2" thick was created based on the dimensions in the ZIP file that can be downloaded at the bottom of this page. Then a short 1/2" pattern bit was used to begin the cut into the plywood.
Once the cavity has been cut deep enough, the template can be put aside and the router bits can ride on the inside edges of the cavity. The picture below shows the result.
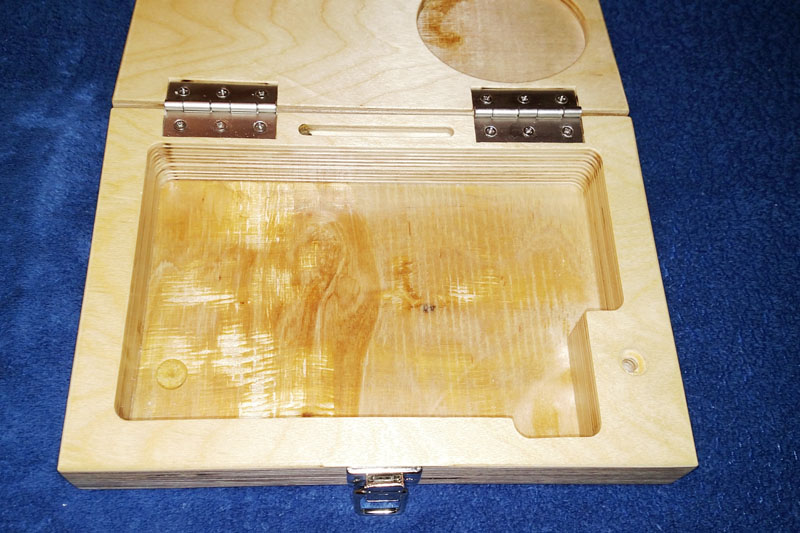
You can see a mark near the lower left corner of the cavity where the router bit cut too far. Care must be taken through the entire cutting process to avoid a mistake like that. Also, be prepared to create A LOT of sawdust. It would be very helpful to use good dust collection on your router.
DO NOT use a router bit with a diameter larger than 1/2" to cut the large cavity. Since the inside corners of the cavity have the same radius as the bit use to cut them, using a bit larger than a 1/2" diameter could cause the Multi-Gauge to not fit inside the cavity.
A much smaller, round cavity is cut 1/4" deep into the top to provide clearance for the face of the dial caliper. A close examination of the top picture on this page will show a similar error where the router bit cut a little bit too deep.
More Pictures
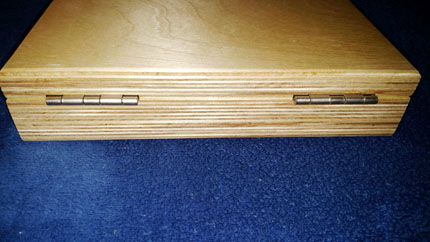
These are pictures of the hinge side and clasp side.

Notice the slight roundover along all the top edges. The same roundover is on all the bottom edges. The roundover was made using a 1/4" roundover router bit, but only about 3/16" of roundover was applied.
A full 1/8" roundover was applied to 3 edges of the inner surface of the top where the top contacts the body of the box. The 1/8" roundover was not applied to the back edge of the inside surface. Also, the roundover was interrupted and not applied in the vicinity of the clasp. That is, the clasp doesn't cross a rounded over area.
Similarly, a full 1/8" roundover was applied to 3 edges of the inner surface of the box body where it contacts the top of the box. And again, the 1/8" roundover was not applied to the back edge of the inside surface. Finally, the roundover was interrupted and not applied in the vicinity of the clasp, just as it was done on the top. Thus, the clasp doesn't cross a rounded over area.
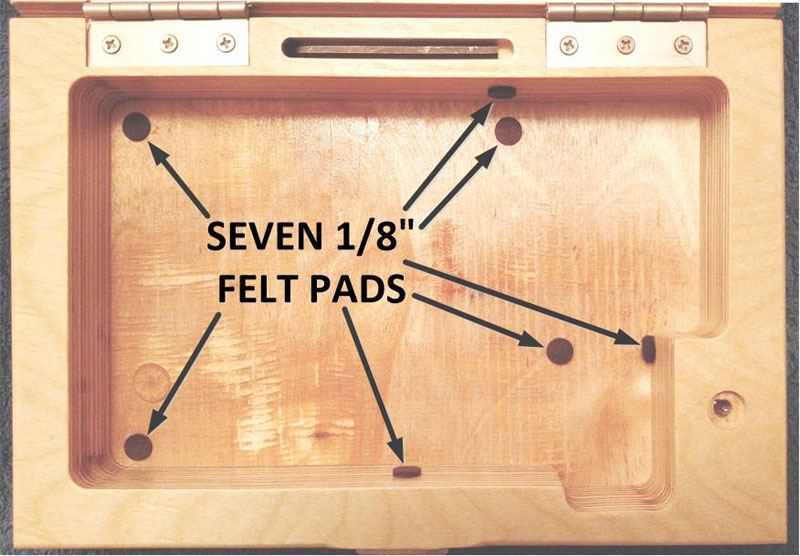
Padding
Seven 1/8"-thick felt pads are used inside the box to protect the Multi-Gauge. The pad at the extreme right in the picture has slid down to the bottom of the cavity. That pad should be centered on the wall, not located at the bottom of it.
Finish
The box was finished with 6 coats of clear spray-on Zinsser shellac on all surfaces with a total of 8 coats on the large, flat outside surfaces.
Download Free Plans, Pictures, and Instructions
The ZIP file contains all the pictures, SketchUp design file "Oneway_Multi-Gauge_Box_04_SKETCHUP_VERSION_8.skp", and PDF design file "Oneway_Multi-Gauge_Box_04_SKETCHUP_VERSION_8.pdf". The PDF file contains all the drawing and dimensional information that's in the SKP file for those who don't use SketchUp. The ZIP file also contains references for the hinges, clasp, and Zinsser shellac finish: